
For many various architectures! (alpha, arc, arm, arm64, avr32, hppa, ia64, m68k, mipsel, mips64, nios2, ppc, ppc64-32, ppc64le, riscv, riscv64, s390x, sparc, sparc64, superh x86, x86-64 and x32..) Very deep DIY spirit for harder Linux users but easy to use for starters. Same package! This has been kept up by very big part by René Rebe and too by many contributors over the years since 2004 but roots comes from ROCK Linux which is even way earlier. I recommend reading some of usage from documentation page, Build Intro and Fresh Install 101. Good start is do have trunk downloaded where we apply patches and do compilation etc.: svn co https://svn.exactcode.de/t2/trunk trunk; cd trunk Here is my small collection of some guides. Software or packages installing is done by compiling them from source code with T2 SDE like as ./t2 install firefox example or to add support of *.appimage you need install its library libappimage and its dependencies fuse3 ( this should come as dep these days automatically ).. so as ./t2 install libappimage.
This is more just own hotfix suggestion which to install after fresh system install (this will be updating). ./t2 install lua ./t2 install -f binutils libtool curl apr apr-util ./t2 install -f perl perl-xml-parser python pip setuptools meson ninja libtool libxml ./t2 install -f glib ./t2 install -f gobject-introspection gdk-pixbuf pango harfbuzz at-spi2-core graphene gtk Alternative.. with all in one with some extras: ./t2 install lua; ./t2 inst -f binutils libtool curl apr apr-util; ./t2 inst -f -optional-deps=yes python pip packaging ply pyyaml python-pathspec python-pluggy python-trove-classifiers; ./t2 inst -f meson; ./t2 inst -f pyproject-metadata; ./t2 inst -f meson-python; ./t2 inst perl perl-xml-parser libxml; ./t2 inst -f gobject-introspection perl-gettext shaderc; ./t2 inst -f glu; ./t2 inst -f graphite2; ./t2 inst -f glib; ./t2 inst -f gdk-pixbuf pango harfbuzz at-spi2-core graphene xmlto docbook-xml libxslt; ./t2 inst -f asciidoc docbook2x tcl tk cbindgen; ./t2 inst -f cargo-c; ./t2 inst -f -optional-deps=no gettext epoxy expat libpng freetype findutils grep sed gawk pixman libxcb libx11 libxext libjpeg shared-mime-info cairo libxml libgsf libcroco libxrender wayland-protocols gstreamer tcp_wrappers; ./t2 inst -f gtk xclip xprop
There is wpa_supplicant for you! Here is example for PlayStation 3 Wifi connection. One Wifi hotspot scan/monitoring software i highly like (and runs in terminal!) is wavemon. First step is to have /etc/wpa_supplicant.conf file with ssid and password configured. So in terminal generate in conf file the required information of your router: wpa_passphrase ssid password >> /etc/wpa_supplicant.conf Next rebooting service by first killing the service. killall wpa_supplicant And starting the service with Wifi driver wext (add -B parameter if want silent run in background) wpa_supplicant -Dwext -iwlan0 -c/etc/wpa_supplicant.conf And finally get IP from router. dhclient wlan0 Now as next you can example make script in boot to do starting automatically by sysvinit or chrontab -e. Its all up to you. Footnote - Personal plead to America: Source* "..Senior SpaceX officials reached a conclusion: The Pentagon should be paying more for access to their satellite Wi-Fi network." Wifi ≠ Internet. Or i will soon start Bluetooth satellite networks. PLEASE.
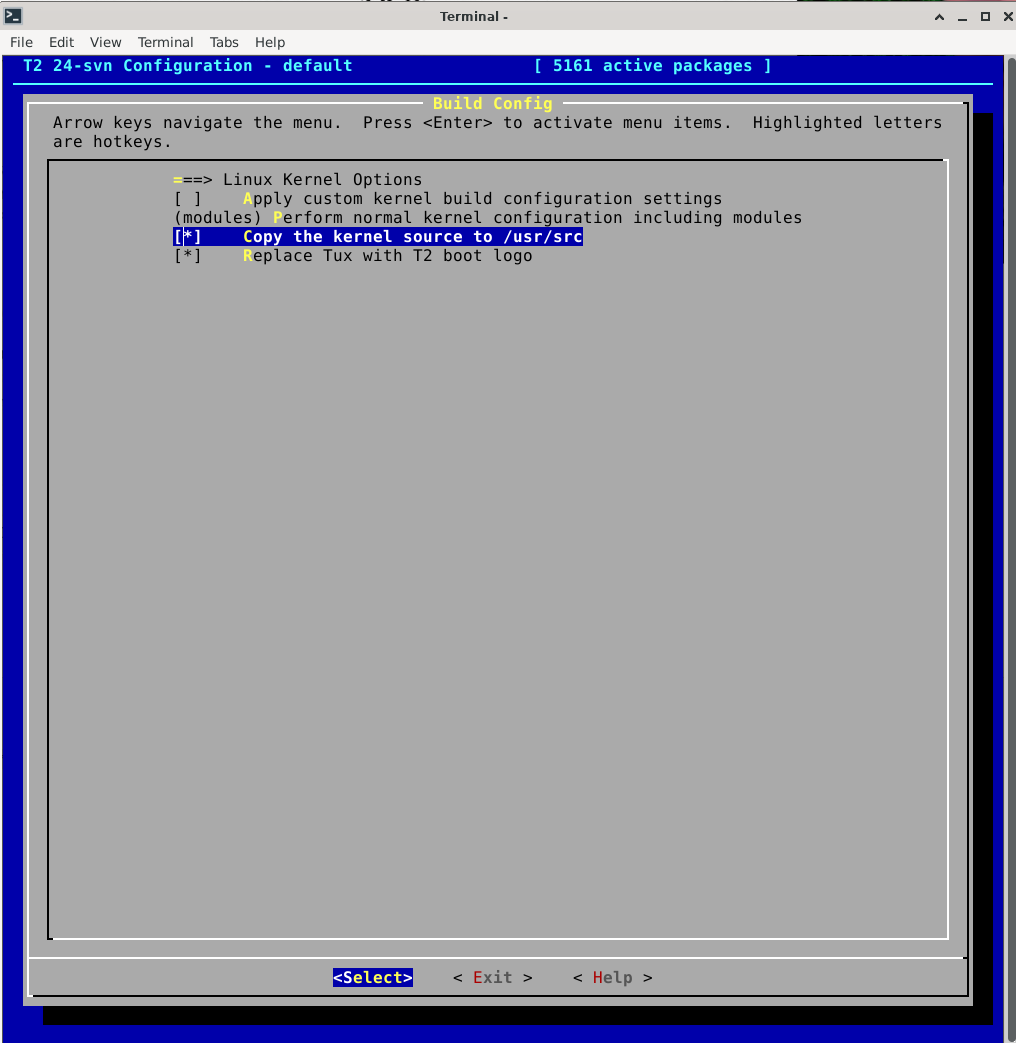
Nvidia drivers are closed source licensed so you need to do some manual work. In shortened you need recompile Linux kernel to have Kernel Sources which Nvidia driver uses to compile its own Kernel module for your Kernel.
This Kernel setting option can be turned from SDE as by doing this ./t2 config and go to Linux Kernel Options-submenu.
Now you can recompile Linux Kernel by the command ./t2 inst -f linux. Move to (or you reboot now and start using new Kernel if it was newer/older) linux source directory cd /usr/src/linux* As a next need manually compile from left source files what Nvidia needs like as Module.symvers to compile its Kernel Module Driver. make prepare This moment the Linux Kernel Configuration asks does the Kernel include STACKPROTECTOR so Yes/No question. I answer n as No because i dont have such thing at /boot/kconfig-6.10.8-t2. Next question was INIT_STACK_NONE options which i chose such one so number 1. Now continue to finish by running next commands: make modules_prepare make -j28 (-j accounts with x number how many cores/threads of cpu you give work) make modules -j28 This moment you can add your old Mesa driver nouveau in blacklist so in next boot it wont be active. Add in modprobe conf file new line with echo example: echo "blacklist nouveau" >> /etc/modprobe.d/modprobe.conf Download Nvidia driver. In this example we use NVIDIA-Linux-x86_64-470.256.02.run driver for Kepler GPU which requires patching and GCC-8 (download t2 pkg diff from bottom and use CC variable to point to it while driver install). Newer GPUs and drivers might not need patching so you can install more directly them and they work later GCC versions. Please refer nvidia readmes of the support of these as new versions keeps coming and things do change. First we extract the driver so we can patch it. NVIDIA-Linux-x86_64-470.256.02.run --extract-only Create temp directory which driver will use while building/install. mkdir /root/Downloads/nvidia/tmp Download this nvidia.patch file and move it directory where the driver did extract to and run the patching inside the directory. patch -p0 nvidia.patch Now all is ready to start the driver installation. ./nvidia-installer --tmpdir /root/Downloads/nvidia/tmp If the driver asks to install 32bit support library and to Configure X11 server, answer yes. Reboot now and when you start the x enviroment like xfce4 with startxfce4 Nvidia driver is now active. Notice that newer drivers for newer Kernels or newer GPUs might not need patching.
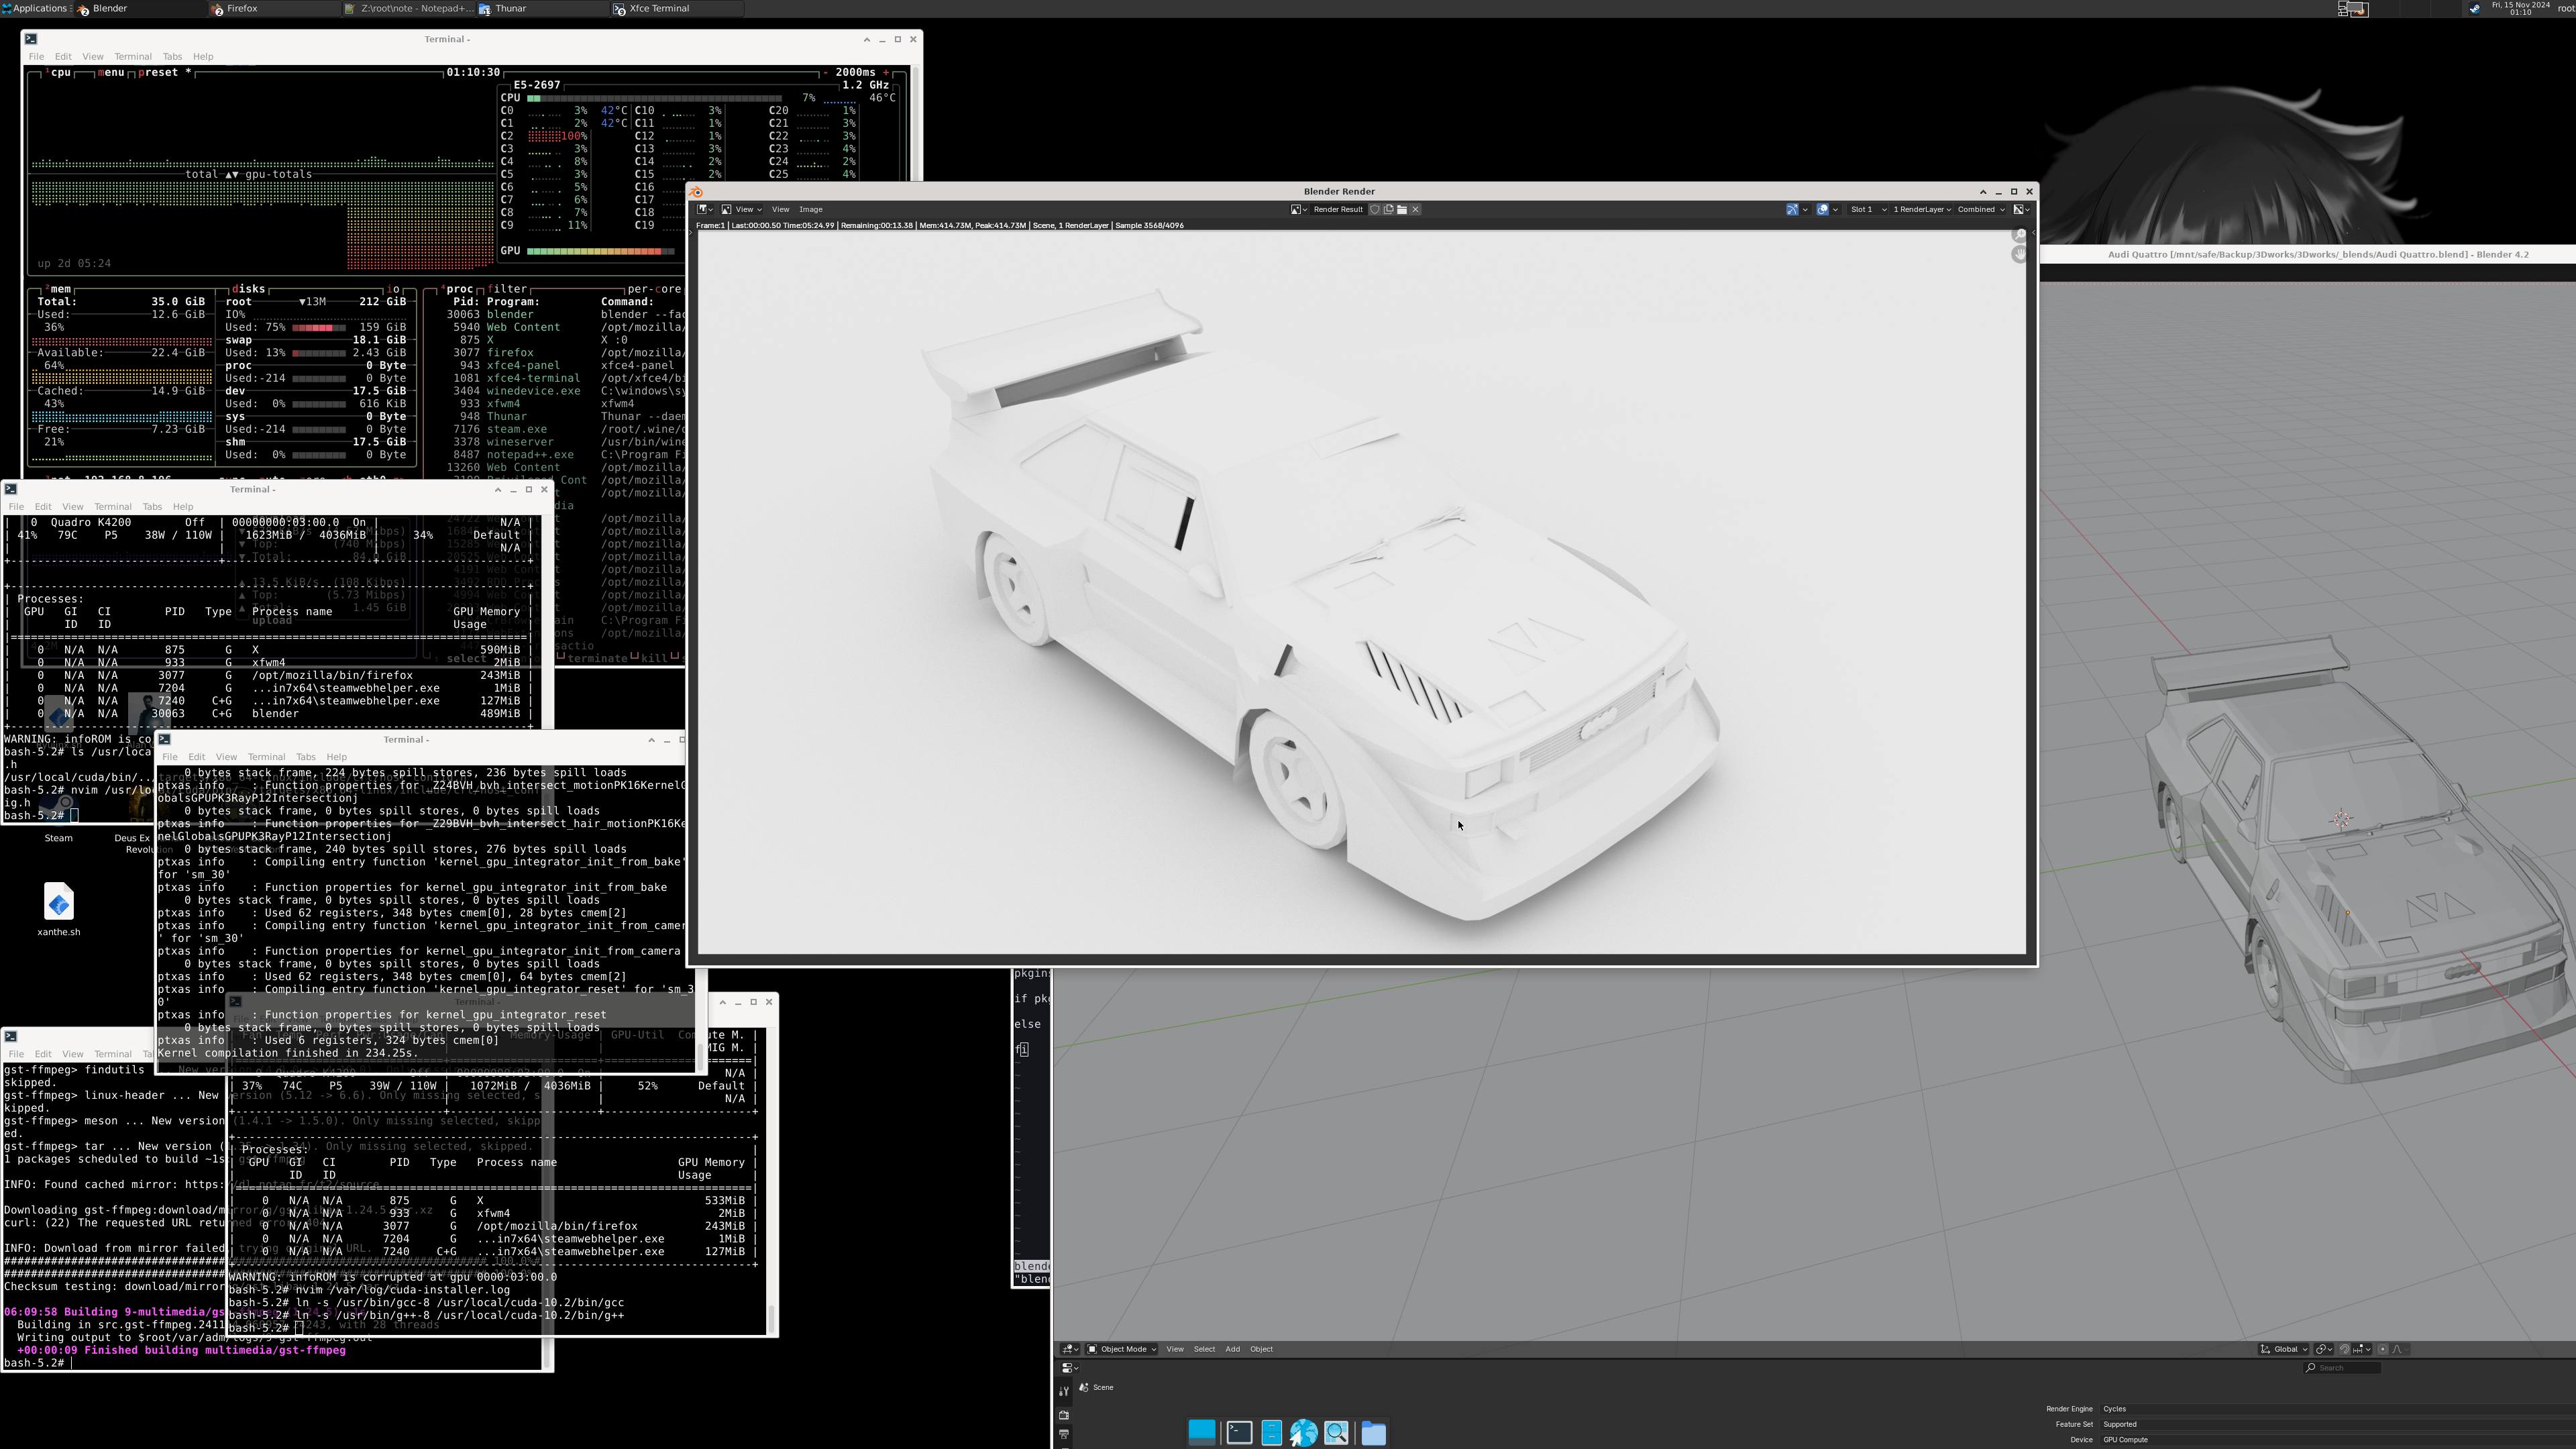
If you want install CUDA support (Like going with Blender Cycle Render at below picture) with the SDK then you need separately right CUDA toolkit as Nvidia is total arse how they list Driver and CUDA level support like in my case totally wrong one with K4200 GPU which Compute Capability is only 3.0. And driver comes with CUDA which has 3.5. ONLY reasonable quick way figure out yours is this Wikipedia artikle. For 470 nvidia-smi comes and shows 11.4 but for me should be CUDA Toolkit 10.2. Nvidia offers multiple Distribution options which with T2 Linux works example marked under Fedora *.run file. Download that run file and run it as (create first tmp directory, modify path if elsewhere) ./cuda_10.2.89_440.33.01_linux.run --tmpdir /root/Downloads/nvidia/tmp --override --silent --toolkit NOTE! This CUDA versio's NVIDIA CUDA Compiler Driver NVCC supports up to GCC 8x compiler only because uses deprecated math libraries which not anymore found in newer GCC versions which the Nvidia compiler uses at first time running programs CUDA layer which it compiles with that GCC compiler through Nvidia CUDA compiler. After installing GCC-8 you need link it to CUDA /bin directory so CUDA uses it correctly. ln -s /usr/bin/gcc-8 /usr/local/cuda-10.2/bin/gcc ln -s /usr/bin/g++-8 /usr/local/cuda-10.2/bin/g++ ..Finished!
DirectX9,10,11 and so the games works these days faster with Vulkan layer instead of OpenGL on Linux which is very clear in performance. On T2 Linux this is easy and no.. no need start using multiple versions of Wine, Proton, Lutris or their versions etc. If you look ex. source code of Proton from Github you get the idea and point what i mean. Yay! Now after Nvidia driver you can install similar benefits directly through simpler and old school Winetricks the Vulkan layer for the Wine. ./t2 install wine winetricks gst-ffmpeg After installing it all you can use Winetricks itself to install dxvk which i had use older version with Kepler GPU as the Vulkan support is below 1.3. winetricks dxvk1103 (Kepler GPU) winetricks dxvk (or newer GPU's) winetricks vk3d You noticed gst-ffmpeg? The package is required on ex. Fallout 4 which without it you dont get sound in menu nor hear voice dialog. And yes no more dll overrides for xact aka Xaudio2.7 as Wine can handle it straight these days. I personally use Steam via Wine which requires additionally winetricks corefonts to show the font in UI. Why not the famous Valve Steam Linux version? It is based on old Ubuntu 12.. from year 2012! Not gonna fix that myself. Steam requires: wine '/root/.wine/drive_c/Program Files (x86)/Steam/steam.exe' -no-dwrite EPIC Games: wine '/root/.wine/drive_c/Program Files (x86)/Epic Games/Launcher/Engine/Binaries/Win32/EpicGamesLauncher.exe' -skipbuildpatchprereq -opengl -http=wininet Cyberpunk 2077 starts by example: env VKD3D_CONFIG="dxr11; no_upload_hvv" VK_ICD_FILENAMES=/etc/vulkan/icd.d/nvidia_icd.json "WINEPREFIX=/root/.wine" wine 'Path/to/Cyberpunk 2077/bin/x64/Cyberpunk2077.exe'
Sounds can be get easy through alsamixer by creating or editing the file from /etc/asound.conf and adding there next lines: defaults.pcm.card x defaults.pcm.device y defaults.ctl.card x Infos or numbers for these you can get from command aplay-l which from example for me i get: card 1: NVidia [HDA NVidia], device 3: HDMI 0 [L32p-30] Where wanted audio source is shown so i need replace x and y to numbers of x = 1 and y = 3. Reopen the program where you tried get sound out and now you should have sound. If no sound check from alsamixer and check that GPU PCM output is not muted.
Here is slightly updated example for sdl2 which might whine of buffer warnings so here we use dmix. pcm.!default { type plug slave.pcm "dmixer" } pcm.dmixer { type dmix ipc_key 1024 slave { pcm "hw:1,3" period_time 0 period_size 1024 buffer_size 4096 rate 48000 } } ctl.!default { type hw card 1 }
Bonus! Here is with additions for desktop streaming or to record all desktop sounds (from all applications at same time) with snd_aloop kernel module loopback output as as virtual microphone.
The module you can load temporarily with modprobe snd_aloop pcm_substreams=2 (need load or you wont hear sound either).
You can make then firefox example detect this as microphone with Microsoft Teams (or your favorite corporate software) by launching firefox with env APULSE_CAPTURE_DEVICE=loopout_mixed apulse firefox from terminal (Note: You need apulse to be installed).
You can then make too virtual webcam with v4l2loopback installable module (at bottom of page while patch getting applied) and ffmpeg.
Example for video loading module: modprobe v4l2loopback devices=1 video_nr=10 card_label="FFmpegCam" exclusive_caps=1 max_buffers=2
Example to make ffmpeg streaming capture (with downscaling 4K to 720p): ffmpeg -f x11grab -framerate 24 -video_size 3840x2160 -i :0.0+0,0 -vf scale=1280:720,format=yuv420p -c:v rawvideo -f v4l2 /dev/video10
pcm.multi {
hint.description "The Damned Mixer"
type route;
slave.pcm {
type multi;
slaves.a.pcm "dmixer";
slaves.b.pcm "loop";
slaves.a.channels 2;
slaves.b.channels 2;
bindings.0.slave a;
bindings.0.channel 0;
bindings.1.slave a;
bindings.1.channel 1;
bindings.2.slave b;
bindings.2.channel 0;
bindings.3.slave b;
bindings.3.channel 1;
}
ttable.0.0 1;
ttable.1.1 1;
ttable.0.2 1;
ttable.1.3 1;
}
pcm.!default {
type plug
slave.pcm "multi"
}
pcm.dmixer {
type dmix
ipc_key 1024
slave {
pcm "hw:1,3"
period_time 0
period_size 1024
buffer_size 4096
rate 48000
}
}
ctl.!default {
type hw
card 1
}
pcm.loopout {
type plug
slave.pcm "hw:2,0"
}
pcm.loop {
type dmix
ipc_key 1024
slave {
pcm "hw:Loopback,1,1"
period_time 0
period_size 1024
buffer_size 4096
rate 48000
}
}
pcm.loopout_mixed {
type dsnoop
ipc_key 2048
slave {
pcm "hw:Loopback,0,1"
format S16_LE
rate 48000
channels 2
}
}
}
This new-ish storage format is very multipurpose and powerful one if you know how to use it. For me i had struggle due many outdated guides on internet which had lot different configurations and the BTRFS itself might even been misconfigured on their Distros! The idea is in usage of subvolumes which can beused for snapshot backups like from whole system and best part is this backup copy wont fill unnecessary your storage as it only takes account modified files. So its very efficient and quick! NOTE if boot section is on same partition you need to use different way boot backup of that which i am not going through in this little tip guide due i show just what btrfs is after Grub boot.
After T2 Linux install you have main volume which ID is 5. Create directory where to save snapshots of the system / mkdir /snapshots btrfs subvol snapshot / /snapshots/BACK00 Check now this new backup and its identifier ID number btrfs subvol list / You will see there ex. now: ID 256 gen 149084 top level 5 path snapshots/BACK00 You can check your current system ID with btrfs subvol get-default / which is 5 by default. You can in theorical level change your current running systems wallpaper to see a change in next boot to confirm btrfs functionality. To be able then boot into snapshot like here into snapshot which ID is 256. btrfs subvol set-default 256 / Reboot now and you should see now again old wallpaper and you can use this snapshot normally or to test things inside snapshot and then return to original system in same way too if you wish so by btrfs subvol set-default 5 / and reboot.
I list here Unofficial packages which mostly wont come to T2SDE package management due niche use. And some package or their patches which not in T2SDE yet. Copy to trunk directory and run there patch -p0 -i file.diff GCC-8.diff GCC-11.diff GCC-13.diff fftw3.diff [for Blender] llvm.diff [for Blender and else] qt5.diff [Last Qt5 pkgs version which works with nvidia drivers, remove similar packages from qt directory. Notice that Qt5 and Qt6 cannot be installed at same time] v4l2loopback.diff nv-codec-headers.diff [headers required to interface with Nvidias codec APIs] ffmpeg.diff [with cuda support] ccid.diff [Fixed ccid package which has obsolete code so can use smart code readers with pcsc-lite] noto-cjk.diff [Japanese and Korean characters visible with font install] thunderbird.diff [Fixes possible thunderbird crash issue when using email providers with calendar funcitonality ex. outlook. Bug makes Settings not working in locale area and you can send only one email and then whole thunderbird frozes from moving emails to Sent directory or loading any new messages. This bug is existed since 105? thunderbird version and still continues existing in latest thunderbird versions up to this day. This hotfix prevents icu4c not providing any nonsense]